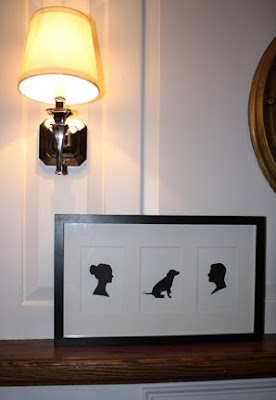
 I know that maybe the whole silhouette thing is getting a little played-out on this blog, what with this post, and this post, and my banner... But before I can put the whole topic to bed once and for all, I feel compelled to show the full how-to and results of my own little project.
For the how-to, I'll show you how I made Skipper's silhouette. It's one in a series of silhouettes we are doing for our salon wall (a topic for a future post) of all of our family and friends. I still think that it's such an easy project, and makes for a really sweet and personal decoration or gift. For ours, I opted for the classic black-and-white look, but I also made one of my brother, sister-in-law and their baby in pastels that hangs in her nursery. And I love the look when done in bright colors or even patterns.
 Step 1: Take a cute picture of your little friend in profile. Open the photo in Adobe Illustrator. For the low-tech version of these instructions, click here.
 Step 2: Using the pen tool on a second layer, trace the outline of your friend. Print the outline on plain paper and scale it until it perfectly fits your frame. Reflect the image, so it prints the opposite side of how you want it. Print it on the final paper you intend to use in the real project.
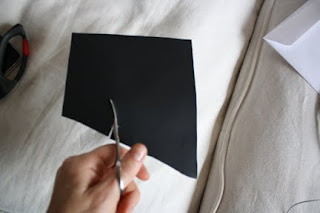 Step 3: Using small sharp scissors, cut out the silhouette, moving slowly and staying exactly on the lines.
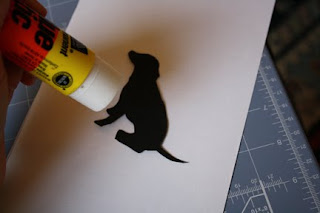 Step 4: Use a glue stick (remember to put the glue on the "wrong" side), to adhere the silhouette to the background paper you are using.
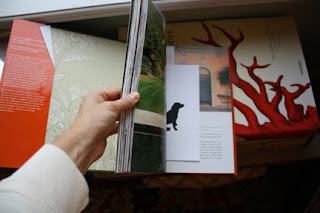 Step 5: Place the glued paper in a heavy book to dry. The pressure of the pages will prevent the paper from puckering or peeling away. If you use a standard glue stick, it should be dry within 20 minutes.
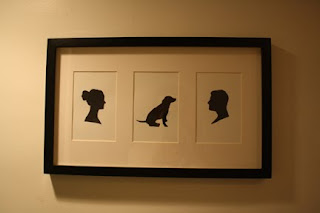 Step 6: Place the silhouette in your frame of choice, and hang up your new unorthodox family portrait proudly in your house.
There. It's out of my system.


No comments:
Post a Comment